Sensor Watch
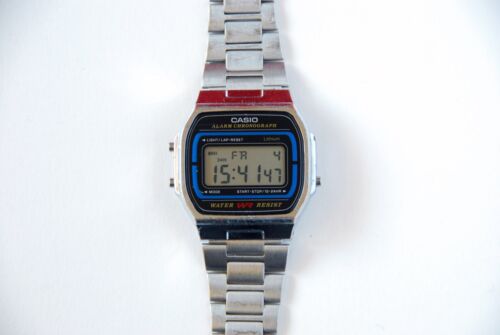
A while ago I backed a crowdsupply project called Sensor Watch. It’s a replacement logic board for those classic Casio watches that you probably don’t know the name of but have certainly seen around. This post goes through the process of getting the board swapped out and programming custom firmware on it. I also went opted for the temperature sensor addon board.
The watch firmware
There is a firmware called Movement that already supports most of the things you probably want a watch to do, uses very little power and exposes a nice interface for writing extensions.
To compile it you need the the ARMmbed toolchain and if you want to test the firmware in a javascript simulator (you do!) then you also need emscriptem:
# first make sure you've activated emscripten
# in the current shell, see emscripten docs
# for me this means running
source ~/git/emsdk/emsdk_env.sh
cd ~/git/Sensor-Watch/movement/make

# emmake takes a normal makefile for a C project
# and compiles it to JS instead
emmake make

# Serve watch.html locally
python3 -m http.server 8000 -d build
The simulator itself is an adapted version of this lovely simulation of the original watch firmware for the sensorwatch project. The contents of watch.html is basically an svg of the watchface, some glue code and the watch firmware in watch.wasm. I factored out the inline svg and glue code to end up with a snippet that I could embed in this page:
<figure>
{% include watch.svg %}
<!-- change display from none to inline to see the debug output -->
<textarea id="output" rows="8" style="width: 100%; display: none;"></textarea>
<figcaption>
Click the buttons to interact with my watch firmware!
</figcaption>
</figure>
<script async type="text/javascript" src="/assets/blog/SensorWatch/emulator.js"></script>
<script async type="text/javascript" src="/assets/blog/SensorWatch/watch.js"></script>
Which I can update by re-running emmake and copying over watch.js and watch.wasm:
 emmake make && \
 cp ./build/watch.wasm ./build/watch.js  ~/git/tomhodson.github.com/assets/blog/SensorWatch
Customising the firmware
I noticed that there wasn’t support for simulating the bicolor red/green led on the sensorwatch board so I made a quick PR to fix that. Next I want to try adding my own new watch face.
Doing the board swap
I have yet to do this!